


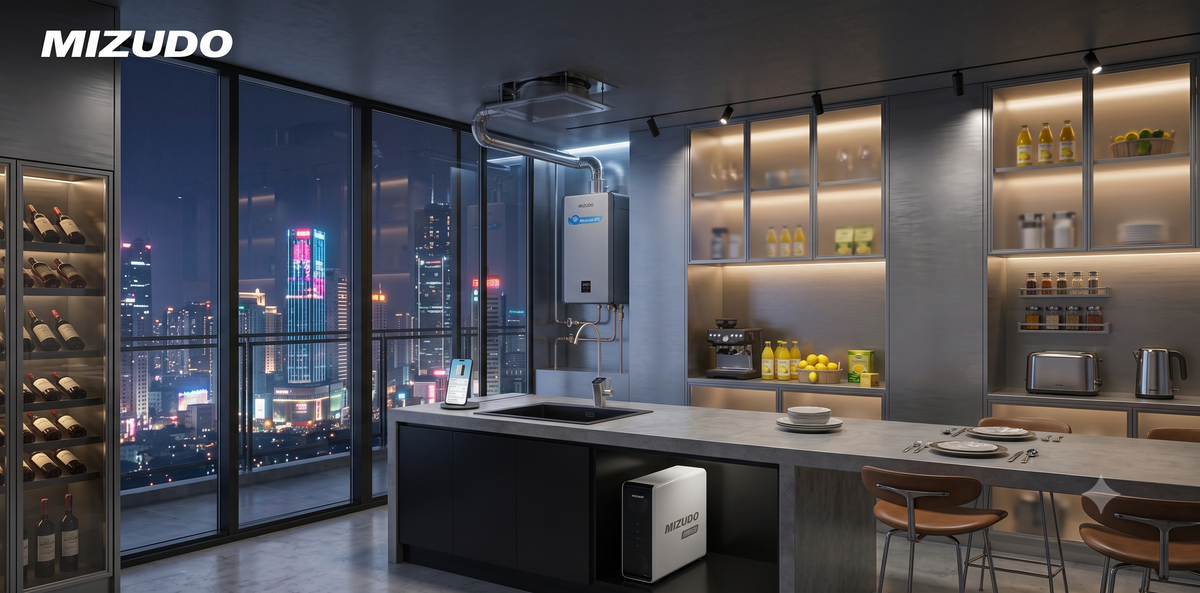
Installing a high-output tankless water heater is not a “buy it, hang it, and turn it on” project. With the right preparation, you can make installation day smoother, avoid expensive rework, and give your installer the information they need before work begins.
The Mizudo 10.3 GPM indoor direct-vent propane tankless water heater is built for strong whole-home hot-water demand, with up to 199,000 BTU of heating power. This guide explains what homeowners can prepare, what needs professional confirmation, and the common installation mistakes that are easiest to avoid before work begins.
Important: This is a homeowner preparation guide, not a replacement for the official installation instructions. Always follow the Mizudo installation manual and local building, gas, electrical, venting, and permitting requirements. Gas piping, venting, electrical modifications, and permit-related work may require a qualified professional.
Start With the Official Installation Resources
Before measuring, drilling, or ordering vent parts, review the official resources for this model:
What You Can Prepare—and What Needs a Professional
The simplest way to avoid a stressful installation is to separate homeowner preparation from the work that should be checked or completed by a qualified installer.
What homeowners can prepare
- Measure the wall space and service clearances.
- Photograph the existing heater, gas line, water lines, outlet, and possible vent route.
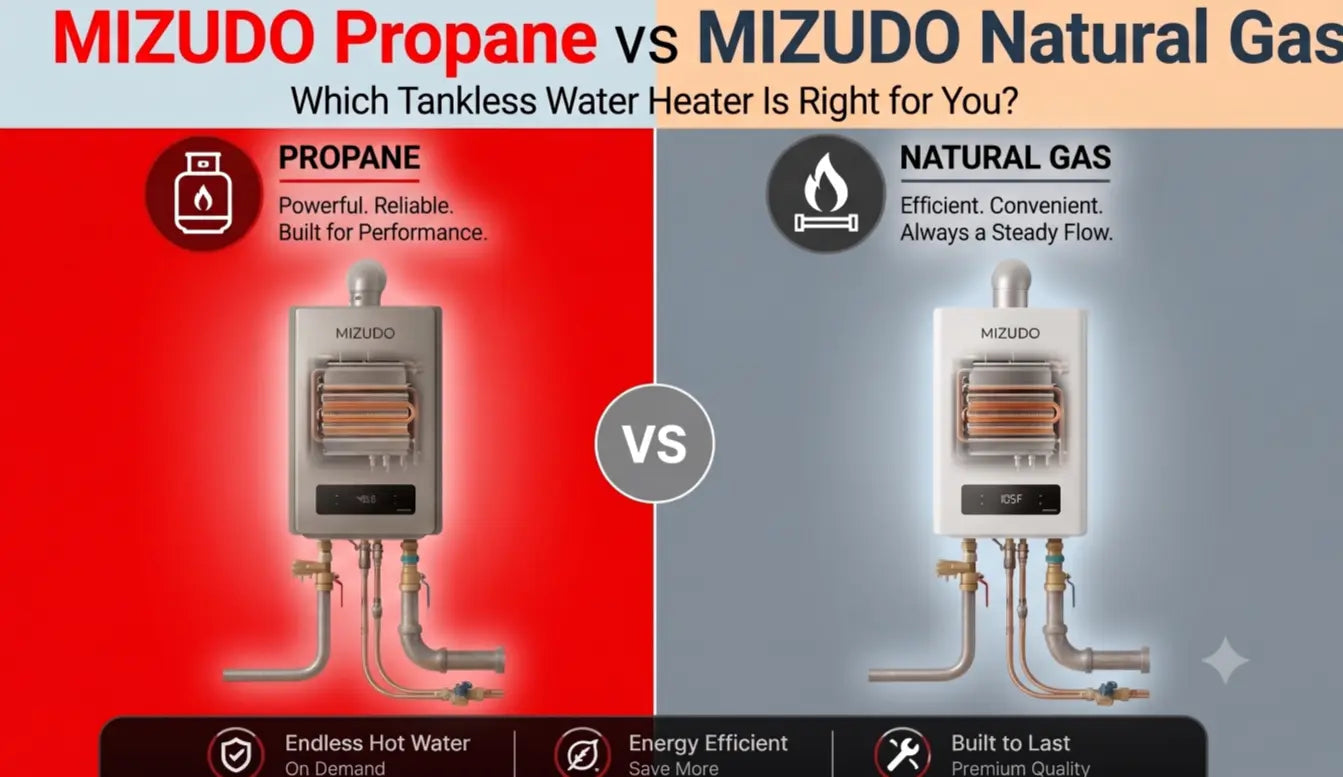
- Confirm whether the home uses propane or natural gas.
- Plan the shortest practical route to an exterior vent termination.
- Review the manual and choose compatible direct-vent accessories.
- Clear the work area for installation and future service access.
What should be professionally confirmed
- Gas-line capacity, pipe sizing, and inlet gas pressure.
- Gas connection and leak testing.
- Direct-vent route, approved components, and terminal clearances.
- New electrical circuits, hardwiring, or electrical modifications.
- Condensate drainage requirements for the final installation.
- Local permits, inspections, and code compliance.
Practical first step: Take clear photos of your current heater, gas supply, water connections, nearby outlet, and the wall or roof area where the vent may terminate. These photos make it much easier to confirm compatibility before ordering accessories or scheduling installation.
1. Confirm Your Installation Space
Measure before you order accessories
The heater needs a clean, dry indoor location with access to water, gas, power, and an approved direct-vent route. The official installation manual recommends at least 12 inches of clearance above and below the unit, 6 inches on each side, and 24 inches in front for service access.
Before moving forward, confirm that:
- The wall can support the heater and mounting hardware securely.
- The display, water filter, valves, and vent connection remain accessible.
- No shelves, cabinets, or stored items will block the front of the heater.
- The location is away from corrosive fumes, bleach, aerosols, paint fumes, and refrigerants.
- The route to the exterior wall or roof can be planned before mounting begins.
Plan the vent route before drilling
A short, direct route through an exterior wall is usually easier to plan than a long route through an attic or roof. Before drilling mounting holes, measure from the heater’s vent connection to the final exterior termination point and account for every elbow, extension, and wall or roof penetration.
Do not guess the vent slope. Direct-vent slope and drainage requirements must follow the official Mizudo installation manual for the approved vent system. Do not assume every tankless system uses the same slope direction, and do not drill the exterior opening until the full route has been confirmed.
The vent terminal must also meet clearance requirements around doors, windows, air intakes, corners, soffits, decks, snow accumulation, and areas where leaves or debris may create a blockage.
View the Mizudo 10.3 GPM heater and listed direct-vent accessories
2. Check Water Connections and Service Access
Flush the water lines first
The Mizudo unit uses 3/4-inch MNPT connections for the cold-water inlet and hot-water outlet. Before making final water connections, flush existing lines to remove dirt, sand, metal particles, and installation debris. Debris entering the heater can reduce flow and create avoidable maintenance issues.
The installation manual lists a minimum water pressure of 15 PSI, recommends 30–50 PSI for best performance, and specifies a maximum pressure of 150 PSI.
Why isolation valves are worth adding
Isolation valves make future maintenance much easier. They allow the heater to be isolated for flushing, draining, filter service, or troubleshooting without shutting off water to the whole home. If you are replacing a tank heater, this is the right time to plan for service access rather than trying to add it later.
Install the pressure relief valve correctly
A pressure relief valve is an important safety component and must be installed according to the Mizudo manual and local code requirements. Its discharge line should lead to a safe drainage location. Do not block, cap, or place a shut-off valve between the heater and the relief valve.
3. Treat Gas-Line Capacity as a Critical Checkpoint
The Mizudo 10.3 GPM tankless water heater has a maximum input of 199,000 BTU/h. That level of output makes gas-line capacity one of the most important checks in the entire project.
Common upgrade trap: an undersized gas line. Many homes that previously used a standard storage-tank water heater may not have a gas supply line sized for a 199,000 BTU tankless unit. A 3/4-inch connection at the heater does not automatically mean the existing supply line has enough capacity. An undersized line can contribute to low inlet pressure, ignition problems, unstable hot-water output, or error codes when household demand is high.
For the propane version, the installation manual specifies an inlet gas pressure range of 8.0–13.5 inches of water column. The correct gas-line size depends on pipe length, pipe diameter, fittings, total household gas demand, local code, and the fuel type in use.
Before connecting gas, confirm that:
- Your fuel type matches the heater nameplate and selected product model.
- The gas line can support the heater and other gas appliances running at the same time.
- A manual gas shut-off valve will be installed as required.
- Every completed connection will be tested with approved leak-detection solution or soapy water.
- No open flame will ever be used to check for gas leaks.
If you are not certain whether the existing gas supply can support a 199,000 BTU appliance, have it checked before startup—not after the heater is mounted and connected.
4. Use Only Compatible Direct-Vent Components
This indoor Mizudo model uses a 3-inch by 5-inch concentric direct-vent system. The system brings combustion air into the heater and carries exhaust safely outdoors. Use only approved, compatible vent components for the selected installation.
Do not use PVC, CPVC, ABS, galvanized materials, an old chimney, a shared vent, or mixed components from different vent manufacturers unless specifically approved by the official installation instructions. Do not reduce the required vent diameter.
When to pause and request a professional review
A short exterior-wall route is generally simpler than a long run with multiple elbows or a roof penetration. Pause and have the route reviewed before buying parts if the vent must cross several rooms, pass through an attic, travel through a roof, use multiple turns, or requires a complex condensate plan.
See compatible direct-vent accessory options on the product page
5. Plan Power and Condensate Before Startup
Confirm the electrical supply
The Mizudo indoor unit requires a properly grounded 120V, 60Hz electrical supply. Keep the electrical connection protected from water exposure and make sure all wiring is secure before startup. If your project requires new wiring, hardwiring, or circuit modifications, follow local electrical requirements and use a qualified professional where required.
Do not leave condensate planning until the end
High-efficiency direct-vent equipment can create condensate. Plan the drain route before startup, especially in colder climates. Condensate must not drain back into the heater, must not connect to the pressure relief valve discharge line, and should not be routed directly into a rain sewer.
6. Use a Deliberate First-Startup Checklist
Do not rush the first hot-water test. A methodical startup makes it easier to catch a leak, vent issue, or configuration problem before the system is put into daily use.
- Water connections are dry and properly secured.
- Gas fittings have been leak-tested.
- The vent system is fully seated and the intake and exhaust openings are clear.
- The pressure relief valve is installed correctly.
- The condensate route is complete and properly arranged.
- The electrical supply is grounded and secure.
- The selected fuel type matches the heater nameplate.
Open the cold-water supply, then open a hot-water faucet to purge air from the water lines. Once water flows normally, open the manual gas valve, turn on the power, set the desired temperature, and test a hot-water tap again.
During the first test, watch for normal ignition, stable water temperature, proper flow, a clear display, water leaks, gas leaks, unusual noise, loose vent components, or error codes. If anything does not look right, turn off the heater and inspect the installation before continuing.
Common Installation Mistakes to Avoid
- Mounting the heater before confirming the vent route.
- Assuming the existing gas line is large enough because the old water heater worked.
- Buying vent parts before confirming that they are approved and compatible.
- Choosing a location with no room for future service.
- Ignoring condensate drainage until the final installation step.
- Using the wrong fuel type or failing to confirm the product nameplate.
- Skipping isolation valves or the pressure relief valve.
- Starting the heater before gas and water leak checks are complete.
When to Call a Professional
It is time to involve a qualified professional if you smell gas, need to change or resize a gas line, are unsure about vent clearances or slope, need to modify an electrical circuit, have a complex roof vent route, or need to meet a local permit or inspection requirement.
Preparing the location, measurements, photos, access, and product information yourself can still reduce installation time and confusion—even when a professional completes or verifies the gas, venting, electrical, or compliance-related work.
Ready to Plan Your Installation?
Start by confirming your space, fuel type, and vent route. Then use the official manual and installation video to prepare the right questions before purchasing or scheduling installation.


Leave a comment
This site is protected by hCaptcha and the hCaptcha Privacy Policy and Terms of Service apply.